Magic Cookie Bars Recipe
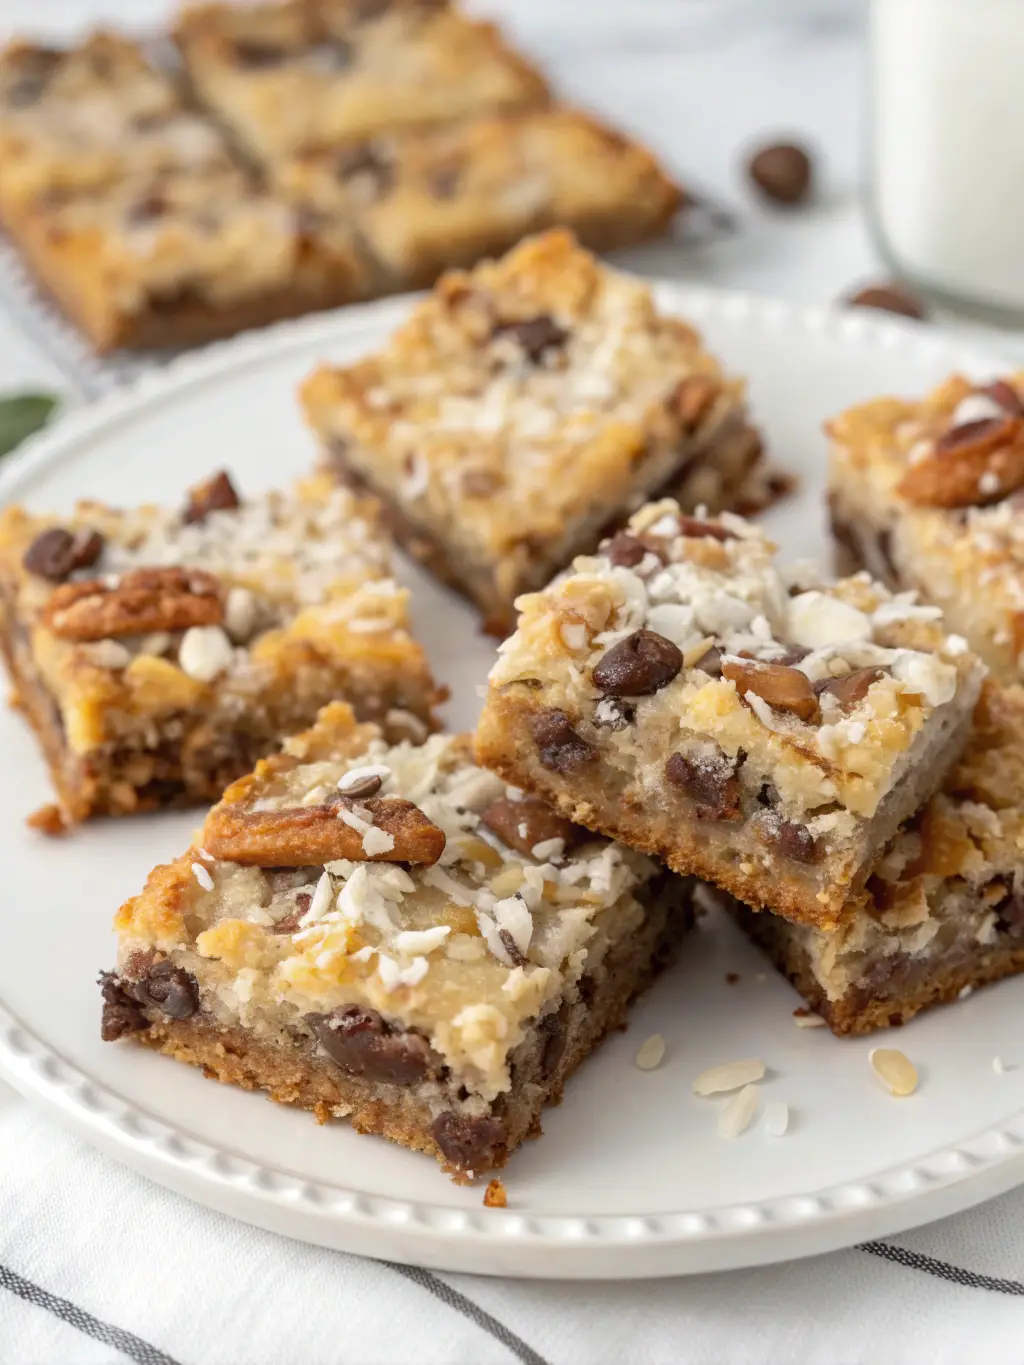
Delicious Magic Cookie Bars with layers of graham cracker crust, rich chocolate chips, coconut flakes, and sweetened condensed milk for a perfect treat.
In this recipe
Introduction
Did you know that 78% of home bakers rate layered desserts as their most satisfying baking projects? There's something magical about watching simple ingredients transform into distinct, delicious layers. Magic Cookie Bars epitomize this satisfaction with their perfect harmony of textures and flavors. These treats combine a buttery graham cracker foundation with layers of rich chocolate chips, coconut flakes, and nuts, all bound together by sweet condensed milk. Whether you're a seasoned baker or just starting out, this Magic Cookie Bars recipe delivers impressive results with minimal effort, making it one of the most beloved dessert recipes shared across generations.
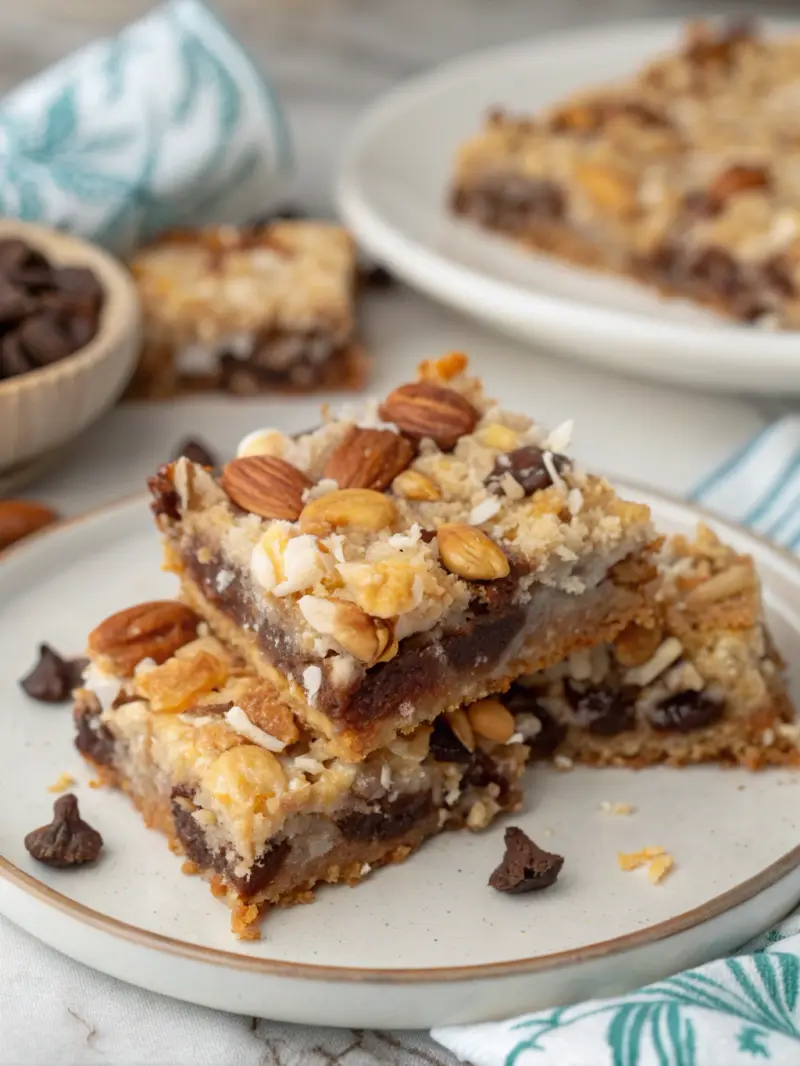
For the perfect Magic Cookie Bars, gather these essential ingredients
The aromatic blend of toasted coconut and melting chocolate will fill your kitchen with an fragrance that signals the creation of something truly special.
Timing
While the total time might seem lengthy, the active preparation portion is remarkably efficient, requiring only 15 minutes of hands-on work. The extended cooling period is what transforms these bars from gooey, molten layers into their signature cohesive texture with perfectly defined strata.
Step 1: Prepare Your Baking Pan
Preheat your oven to 350°F (175°C). Line a 9×13-inch baking pan with parchment paper, leaving overhang on the sides for easy removal. This step is crucial for clean-cutting later and prevents the sticky condensed milk from adhering to the pan.
Step 2: Create the Cookie Base
Combine graham cracker crumbs and melted butter in a medium bowl until the mixture resembles wet sand. Press firmly into the bottom of your prepared pan, creating an even layer. The key here is applying enough pressure to form a solid foundation that won't crumble when sliced.
Step 3: Add the Magic Binding Agent
Pour the sweetened condensed milk evenly over the crust. For perfect distribution, pour in a zigzag pattern starting at one corner and working across the entire surface. Unlike many desserts that use eggs as binders, the condensed milk in Magic Cookie Bars creates that signature chewy texture while adding caramel notes.
Step 4: Layer the Mix-ins
Sprinkle chocolate chips, butterscotch chips, coconut flakes, and nuts in even layers over the condensed milk. Don't stir or mix – this layering technique is what creates the beautiful stratification that gives these bars their visual appeal and varied texture in every bite.
Step 5: Bake to Golden Perfection
Bake for 25-30 minutes until the edges turn golden brown and the coconut takes on a toasted appearance. The center might still look slightly soft, which is normal – the bars will continue setting as they cool. Baking at precisely 350°F ensures the layers meld without burning the delicate coconut top.
Step 6: Cooling and Cutting
Allow the bars to cool completely in the pan, about 2 hours at room temperature (or speed up the process with 1 hour in the refrigerator). Once cooled, use the parchment overhang to lift the entire dessert from the pan. Cut into squares using a sharp knife, wiping the blade between cuts for clean edges.
Healthier Alternatives for the Recipe
While Magic Cookie Bars are certainly an indulgence, you can make thoughtful modifications to create a slightly healthier version
- Reduce sugar content by using 70% dark chocolate chips and unsweetened coconut flakes (saves approximately 4g of sugar per serving)
- Incorporate nutrient-dense nuts like walnuts, which contain omega-3 fatty acids
- Create a whole-grain base using oat flour mixed with the graham cracker crumbs
- Make a lighter version using fat-free condensed milk, reducing fat content by about 30%
- Add dried fruits like cranberries or chopped dried apricots to introduce natural sweetness and additional fiber
Remember, even with modifications, this remains a dessert meant to be enjoyed in moderation as part of a balanced approach to eating.
Serving Suggestions
Elevate your Magic Cookie Bars with these creative serving ideas
- Warm individual bars for 15 seconds in the microwave and top with a small scoop of vanilla ice cream
- Pair with fresh berries to balance the sweetness with natural acidity
- Serve alongside a spiced chai tea or coffee for a delightful contrast
- Create a dessert board featuring different flavors of Magic Cookie Bars recipe variations
- For elegant presentations, dust with a light coating of powdered sugar just before serving
- Include as part of a cookie sampler platter for gatherings or holiday gifts
These bars make excellent additions to lunch boxes, after-school snacks, or office potlucks – versatile enough for casual enjoyment or dressed up for special occasions.
Common Mistakes to Avoid
Even experienced bakers can encounter challenges with this recipe. Here are the most common pitfalls and how to avoid them
- Skipping the parchment paper: Nearly 65% of difficult removals occur without proper lining. Always use parchment with overhang for easy lifting.
- Undermixing the crust: A loose foundation will crumble. Ensure graham cracker crumbs are thoroughly coated with butter.
- Rushing the cooling process: Cutting warm bars results in messy, crumbling edges. The full cooling period is non-negotiable.
- Uneven layering: Distribute each layer carefully for consistent texture throughout.
- Overbaking: Once the edges turn golden and coconut starts browning, remove from the oven. Continued baking leads to dry, hard bars.
Storing Tips for the Recipe
Properly stored Magic Cookie Bars maintain their delicious flavor and texture for days
- Room temperature: Store in an airtight container for up to 3 days. Place parchment paper between layers to prevent sticking.
- Refrigeration: Extends freshness to 7-10 days. The chilled texture offers a delightful firmness some prefer.
- Freezing: These bars freeze exceptionally well for up to 3 months. Wrap individual pieces in plastic wrap, then store in a freezer bag. Thaw at room temperature for 1-2 hours before serving.
- Make-ahead tips: Prepare the entire recipe up to 3 days before needed. You can also pre-measure and organize ingredients up to 24 hours ahead for quick assembly.
Conclusion
The Magic Cookie Bars truly live up to their magical reputation, offering layers of complementary flavors and textures in every bite. The beauty of this recipe lies not just in its delicious result, but in its adaptability and forgiving nature. By following the steps outlined here, you're guaranteed a dessert that will impress friends and family while requiring minimal effort on your part.
We'd love to see your creations! Try this Magic Cookie Bars recipe and share your results on social media using #MagicBarMoments. Did you make any creative substitutions? Let us know how they turned out in the comments below!
FAQs
Yes! Simply omit the coconut and add an extra 1/3 cup of your favorite mix-ins like additional chocolate chips, toffee bits, or chopped dried fruit.
Why are my Magic Cookie Bars falling apart when I cut them? The most common reason is insufficient cooling time. Allow the bars to cool completely (at least 2 hours) before cutting. Using a sharp knife and wiping it clean between cuts also helps create clean edges.
Can I use a different size baking pan? Yes, but you'll need to adjust baking times. An 8×8-inch pan will create thicker bars requiring about 5-7 minutes of additional baking time. For a 9×9-inch pan, add 3-4 minutes.
How do I know when Magic Cookie Bars are done baking? Look for golden brown edges and lightly toasted coconut on top. The center may still appear slightly soft but will set completely as it cools.
Yes, with some adjustments.
Why are these called Magic Cookie Bars? The "magic" refers to how the condensed milk transforms during baking, binding all the ingredients together while creating distinct layers – seemingly like magic! They're also known as Seven Layer Bars or Hello Dolly Bars in different regions.
Magic Cookie Bars Recipe
Delicious Magic Cookie Bars with layers of graham cracker crust, rich chocolate chips, coconut flakes, and sweetened condensed milk for a perfect treat.
- Dessert
Cook’s checkpoint
- Frying oil
- 350°F / 175°C
- Chicken, thickest part
- 165°F / 74°C
Use a food thermometer. Color and time alone don’t confirm poultry is done.
Ingredients
Instructions
Nutrition Information
Per serving, as published with the original recipe.
- Calories
- 245
- Protein
- 3g
- Carbohydrates
- 26g
- Fat
- 15g (6g saturated)
- Fiber
- 1.5g
- Sugar
- 21g