Puff Pastry Cinnamon Rolls with Sweet Maple Icing Recipe
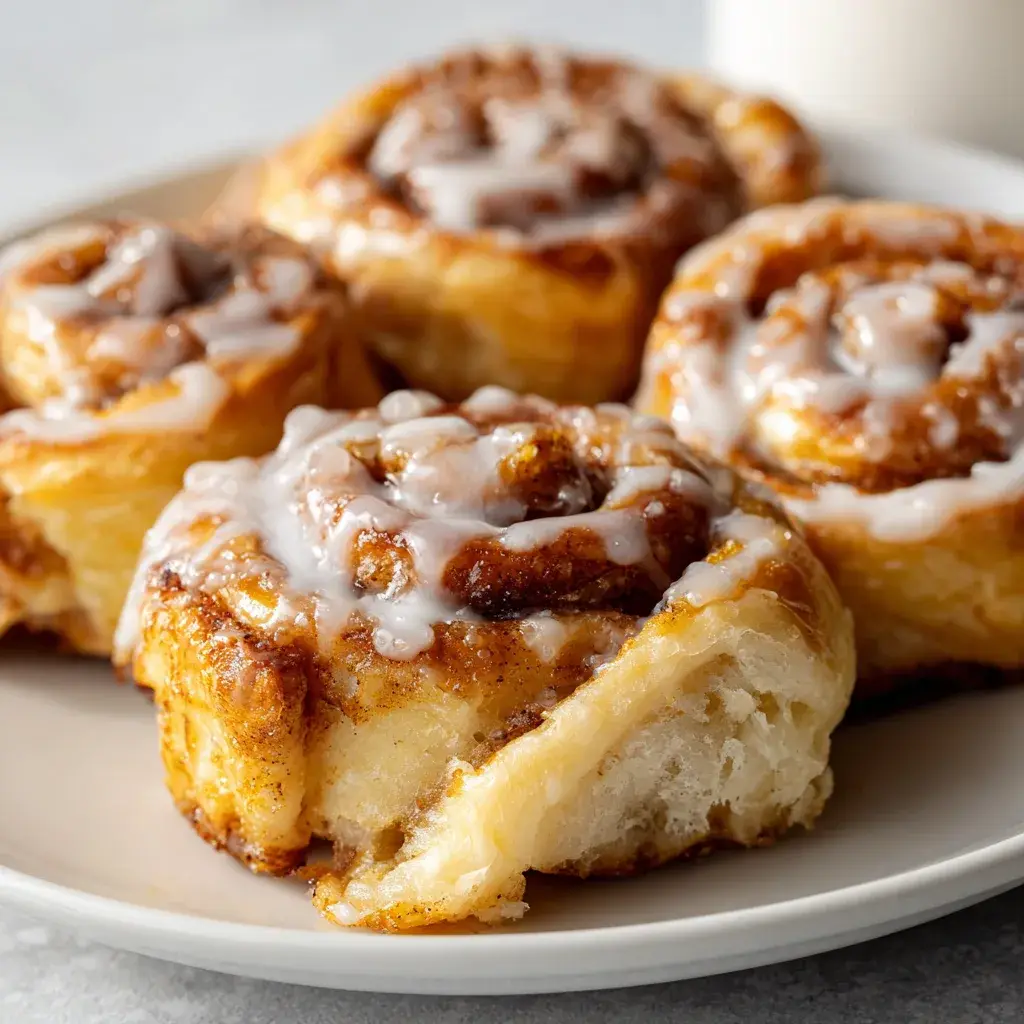
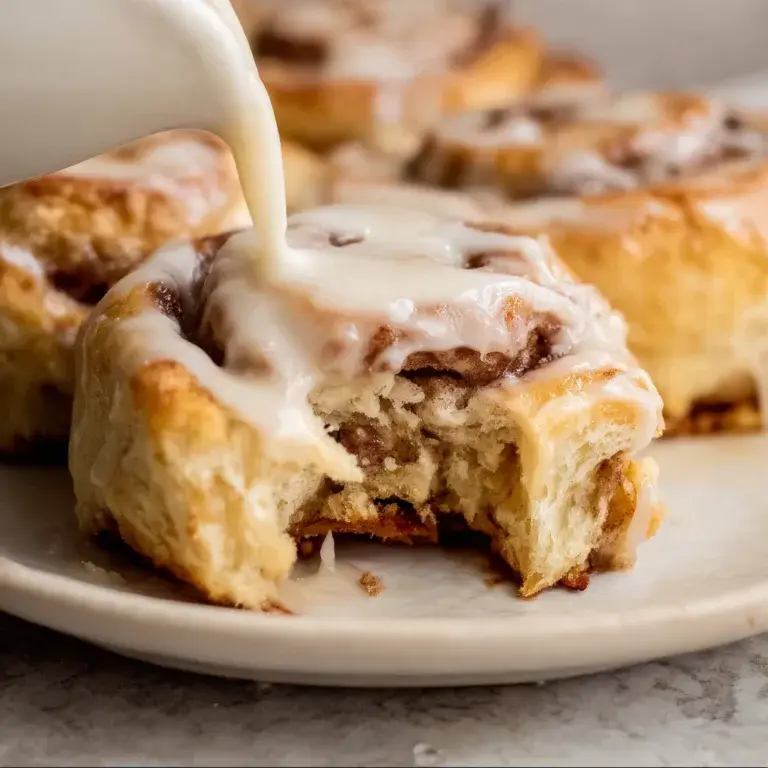
These puff pastry cinnamon rolls are flaky, buttery, and filled with a rich cinnamon-sugar swirl. Drizzled with sweet maple icing, they’re a quick and impressive brunch treat made with just a handful of ingredients.
Total: 28 minYield: 8–10 rollsMethod: Baking
In this recipe
Flaky layers of buttery puff pastry wrapped around a cinnamon-sugar filling and topped with a silky maple glaze that pools in all the right places. I first made these on a rainy Sunday morning when my sister was visiting, and the kitchen filled with that unmistakable cinnamon aroma that makes everyone drift in asking, "What smells so good?" The best part? They're ready in half the time of traditional cinnamon rolls but taste just as.
Why You'll Love This Puff Pastry Cinnamon Rolls with Maple Icing
Quick & Easy Shortcut Method
There's something magical about using store-bought puff pastry as your secret weapon. Unlike traditional cinnamon rolls that require yeast, rising time, and kneading, these come together in just minutes of active prep. The dough unfolds into a perfectly thin sheet that's already layered with butter, creating that signature flakiness we all crave. You'll simply spread your filling, roll, slice, and bake. Even on sleepy weekend mornings, I can have these in the oven before my coffee is finished brewing—they're that simple.
Texture & Flavor Combination
The contrasting textures are what make these rolls truly special. Each bite delivers crisp, shattery pastry edges giving way to soft, gooey centers where the cinnamon-sugar mixture has caramelized. The filling gets wonderfully sticky during baking, creating those delicious sweet pockets throughout. Then comes the maple icing—oh, that maple icing! Made with real maple syrup (never the imitation stuff), it adds a complex sweetness that plain powdered sugar glazes just can't match. The subtle woodsy notes of the maple complement the warm cinnamon perfectly, creating a flavor pairing that feels like a cozy sweater for your taste buds.
Essential Tips & Tricks
Mastering Puff Pastry Handling
Always thaw your pastry properly in the refrigerator overnight rather than at room temperature, which can make it sticky and difficult to work with. When rolling, use just enough pressure to seal the seam without squashing those precious layers. Keep your work surface and rolling pin lightly floured, and work quickly so the butter in the pastry stays cold. If it starts feeling too soft or warm at any point, pop it into the fridge for 10 minutes. This patience with pastry makes all the difference in achieving those perfect flaky layers.
Creating the Perfect Filling & Icing
The key to an exceptional filling is using softened butter —not melted—so it spreads easily without soaking through the pastry. Mix your cinnamon and sugar together before sprinkling for even distribution. Leave a small border around the edges to prevent overflow during baking. For the maple icing, the consistency matters tremendously. You want it thick enough to cling to the rolls but fluid enough to drizzle. Start with less liquid than you think you need, then add more drop by drop.
Serving Ideas & Creative Variations
Perfect Pairings for Brunch & Beyond
These cinnamon rolls shine as the centerpiece of any breakfast spread. For special occasions, add a dollop of mascarpone or crème fraîche on the side—the slight tanginess creates a beautiful contrast. Coffee is non-negotiable, preferably a medium roast that won't overpower the delicate pastry. If you're hosting brunch, these pair wonderfully with savory options like this shrimp orzo in lemon garlic sauce for a perfect sweet-savory balance. For dessert serving, warm them slightly and add a scoop of vanilla ice cream for an elevated treat that feels both homey and special.
Seasonal Twists & Flavor Adaptations
The beauty of this recipe is its versatility as a base for endless variations. In fall, I add finely diced apples and a pinch of nutmeg to the filling for apple pie vibes. Winter holidays call for crushed peppermint in the icing and a sprinkle of festive red and green sugar. Come spring, try adding orange zest to both the filling and icing—the citrus brightness is absolutely refreshing. Summer brings opportunities for fresh berry additions —scatter blueberries or finely diced strawberries over the cinnamon filling before rolling. For grown-up gatherings, consider a bourbon maple glaze by adding a teaspoon of good bourbon to your icing, creating a sophisticated flavor profile that still feels comforting.
Storage & Troubleshooting Guide
Keeping Them Fresh & Make-Ahead Options
These rolls are at their absolute best when freshly baked, but you can store leftovers in an airtight container at room temperature for up to 2 days. For longer storage, refrigerate for up to 5 days, though the texture will change slightly. To refresh, warm them in a 300°F oven for 5 minutes—never microwave, which makes puff pastry chewy rather than crisp. For make-ahead convenience, prepare the rolls up to the slicing stage, then freeze them uncooked on a baking sheet. Once frozen, transfer to a freezer bag where they'll keep for up to 3 months. When ready to bake, simply place the frozen rolls on your baking sheet and add 5-7 minutes to the baking time.
Solving Common Pastry Problems
If your rolls unravel during baking, you likely didn't seal the edge firmly enough. Fix this by dampening the final edge with water before rolling closed. Pale, undercooked centers usually mean the rolls were cut too thick—aim for 1-inch slices for even baking. If your icing is too runny, add more powdered sugar; if too thick, thin with tiny amounts of milk or cream. Experiencing butter leakage during baking? Your pastry got too warm before going into the oven. The quick solution is chilling the prepared rolls for 15 minutes before baking. Remember that ovens vary significantly, so watch for visual cues—golden brown edges and slightly puffed centers—rather than relying solely on timing.
Frequently Asked Questions
Can I use homemade puff pastry instead of store-bought?
Absolutely! Homemade puff pastry works beautifully, though it requires significant preparation time. If using homemade, ensure it's rolled to the same thickness as store-bought (about 1/8 inch) for proper baking.
How do I prevent my Puff Pastry Cinnamon Rolls from unraveling?
Seal the final edge firmly by brushing with a little water or egg wash before rolling closed. After slicing, place rolls cut-side up with some space between them on the baking sheet.
Can I prepare these the night before?
Yes! Prepare up to the point of slicing, then cover tightly and refrigerate overnight. Bring to room temperature for 20 minutes before baking in the morning.
What's the best way to drizzle the maple icing?
Use a fork or small whisk to drizzle, or place icing in a zip-top bag, snip a tiny corner, and pipe decoratively. Apply while rolls are warm but not hot.
Can I freeze these after baking?
Yes, though texture suffers slightly. Freeze unglazed rolls, then thaw, warm in a 300°F oven for 10 minutes, and add fresh icing before serving.
Puff Pastry Cinnamon Rolls with Sweet Maple Icing Recipe
These puff pastry cinnamon rolls are flaky, buttery, and filled with a rich cinnamon-sugar swirl. Drizzled with sweet maple icing, they’re a quick and impressive brunch treat made with just a handful of ingredients.
- Vegetarian
- Bread
- Breakfast / Brunch / Dessert
- Baking
Cook’s checkpoint
- Frying oil
- 350°F / 175°C
- Chicken, thickest part
- 165°F / 74°C
Use a food thermometer. Color and time alone don’t confirm poultry is done.
Ingredients
Instructions
Notes
- Make ahead tip: Prep rolls, cover, and chill overnight. Bake fresh in the morning.
- Want extra maple flavor? Add a dash of maple extract to the glaze.
- Swap maple icing for cream cheese glaze for variety.
- Best served warm the day of baking, but they reheat beautifully in the toaster oven.